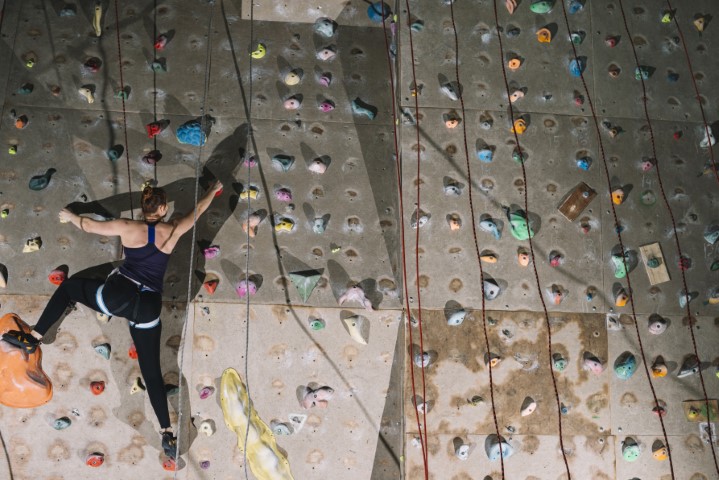
Have you ever wanted to bring the thrill of Indoor Rock Climbing Wall Plans into your own home? A DIY indoor rock climbing wall is a fantastic way to train, stay active, and have fun without leaving your house. With some planning, basic tools, and the right materials, you can create a safe and challenging home climbing wall that’s perfect for adults and kids alike.
Benefits of a Home Climbing Wall
- Train anytime: No more waiting for gym hours.
- Customizable: Adjust wall angles, holds, and routes for your level.
- Budget-friendly: Save money compared to long-term gym memberships.
- All-ages fun: Great for families, kids, and climbing enthusiasts.
- Fitness: Build strength, flexibility, and endurance.
Step 1: Choose the Right Location
Pick a space that fits your climbing needs: – Garage or basement: Perfect for higher walls. – Spare room: Great for compact vertical setups. – Outdoor shed or covered patio: Can work if weather-protected.
Key considerations: – Ceiling height (8–12 feet is ideal) – Wall angle (vertical vs. overhanging) – Floor space for crash pads
Step 2: Gather Materials & Tools
To build a sturdy and safe climbing wall, you’ll need: – 3/4-inch plywood panels – 2×4 lumber for framing – T-nuts (3/8-inch) for climbing holds – Variety of climbing holds (jugs, crimps, slopers) – Crash pads or gym mats – Power drill, screws, and bolts – Stud finder and level
Step 3: Build the Frame
- Construct the frame with 2x4s.
- Anchor into studs or ceiling joists.
- Add angled supports for an overhanging wall.
- Check alignment with a level.
Pro tip: Reinforce joints to ensure the wall handles dynamic movements
Step 4: Install Plywood Panels
- Drill a grid of holes every 8–12 inches.
- Insert T-nuts from the back.
- Attach panels to the frame with heavy-duty screws.
- Sand rough edges to prevent injury.
Step 5: Add Climbing Holds
- Bolt holds to the T-nuts.
- Mix different types of grips for variety.
- Set routes with progressive difficulty.
- Rearrange holds regularly for new challenges.
Step 6: Safety Essentials
Safety should always come first: – Place crash pads or mats under the wall. – Install good lighting for visibility. – Beginners should wear helmets. – Inspect holds and bolts weekly.
Step 7: Customize Your Climbing Wall
Make your wall your own: – Paint panels for a creative look. – Add hangboards or campus boards for extra training. – Rotate holds to keep climbing fun and challenging. – Track your progress with apps or journals.
Maintenance Tips
- Check for loose holds or stripped T-nuts.
- Clean chalk buildup on holds.
- Replace worn-out grips.
- Reseal or repaint wood if needed.
Conclusion
A DIY indoor climbing wall is one of the best investments you can make for fitness, family fun, and climbing progression. With the right planning, tools, and safety measures, you can build a home bouldering wall that will provide endless challenges and excitement. Whether it’s in your garage, basement, or spare room, your wall will be a climbing gym you can enjoy every day.